
Destination Wedding Photography: Complete Planning Guide
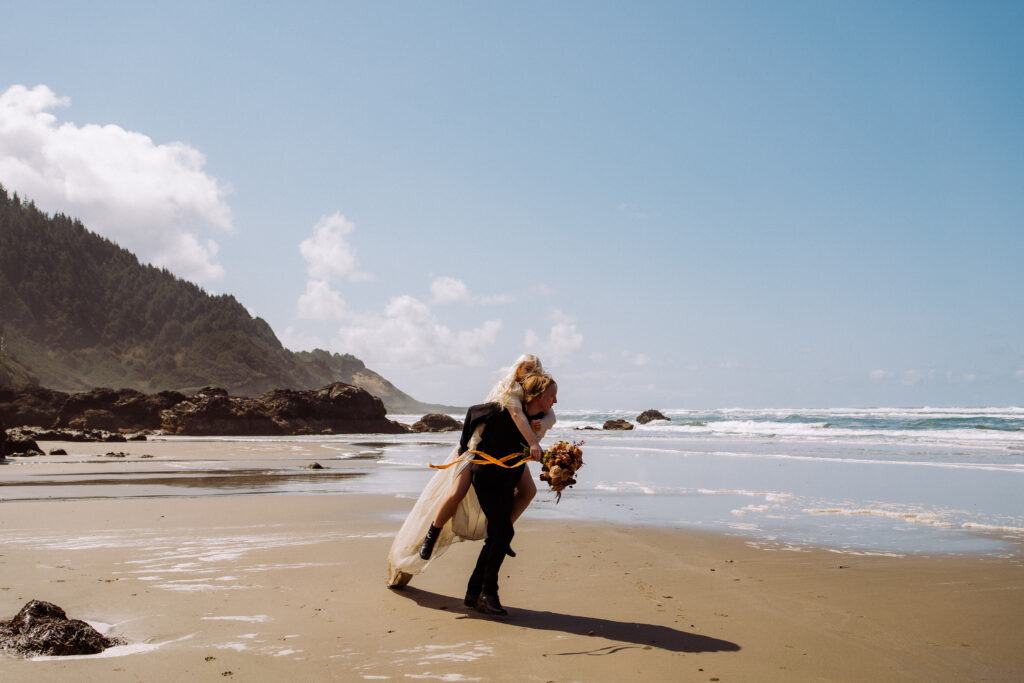
Your destination wedding is a promise you’ll keep, a moment etched in time. In that place you’ve traveled to—on a beach, a cliff, a vineyard, a historic town—your love finds new light and stories unfold. The photos from that day will bring you back to every laugh, every glance, every tear.
But here’s the thing: planning your wedding photography from afar takes intention. It’s not just hiring someone with a camera. It’s trusting a creative with your dream. It’s creating a plan so that even across oceans and time zones, your story is captured beautifully.
In this guide, we’ll walk through everything: how to choose the right photographer, build your timeline, plan for surprises, and shape a shot list that honors your love and your destination.
Choosing the Right Photographer for Your Destination Wedding
The first question is whether you should work with a local or a traveling photographer:
A local photographer brings advantage in local knowledge: they know lighting at that venue, local vendors, permits, and hidden spots. Travel fees are lower or nonexistent. But you’ll need to vet them extra carefully. They may not have experience shooting weddings that match your vision.
A traveling photographer brings consistency: they understand your style, your way of working, and you already trust them. They’ll carry their gear and adapt to new places. But you’ll need to budget for flights, lodging, and potential import fees.
Choosing between them is a balance: style, trust, cost, and comfort.
How to research and compare portfolios remotely
- Ask for full galleries, not just highlight reels. A portfolio shows style; full weddings show consistency.
- Look for destination shoots in their past work (beaches, mountains, far‑off venues).
- Compare how they handle light, candid moments, and portraits in varied settings.
- See before/after editing styles to understand what “editing” means for them.
Questions to ask during your discovery calls
- What’s your experience shooting destination weddings?
- Can I see a full gallery from a wedding in a location similar to ours?
- What travel, lodging, and permit costs would we cover?
- What’s your coverage time and what does each hour include?
- What’s the backup plan for equipment or delays?
- What is your turnaround time for final images?
- How is the contract structured: what’s included, what’s extra?
Understanding different photography styles
- Light and airy: soft tones, bright exposure, romantic feel
- Moody: deeper contrasts, richer tones, more drama
- Editorial / artistic: imaginative compositions, stylized poses, creative direction
Look for the style that feels like you, not trendy.
Also ask how flexible they are. Maybe you love parts of one style and parts of another.
Getting clear on contracts, travel fees, and turnaround times
A detailed contract is essential. It should clarify:
- Travel, lodging, and per diem costs
- Insurance, equipment backup, and backup photographer
- Usage rights (prints, social media, albums)
- Payment schedule and cancellation terms
- Delivery date window
Be explicit about your expectations around turnaround so there are no surprises.
Tips for Communicating with International Photographers
Scheduling virtual meetings despite time zones: Use apps like World Time Buddy to find overlapping windows. Be flexible. Sometimes early mornings or late evenings help. Confirm time zones clearly in writing.
Clarifying expectations around language, shot lists, and timelines: If there’s a language barrier, use visual samples. Share shot lists, reference images, and location maps. Spell out timing in hours (e.g. “first look at 4:30 PM, 30 minutes, then portraits until 5:15 PM”).
How to build trust from afar
- Ask for references or reviews from past couples
- Do a video chat and talk about vision, story, fears
- Share small deliverables early (e.g. engagement shoot)
- Clarify expectations, so surprises feel fewer
Planning Your Destination Wedding Photography Timeline
Ideal timing for each part of the day
Here’s a rough flow you can adapt:
- Getting ready: 1.5 – 2 hours
- First look / portraits: 30 – 60 minutes
- Ceremony: as dictated by venue
- Post‑ceremony portraits / family shots: 30 – 60 minutes
- Reception / party: coverage until dancing ends
- Sunset or golden hour portraits: typically 30 minutes
How travel, light, and location impact your photo schedule
- If your venue is remote or has rough access, build in buffer travel time.
- Watch sunrise and sunset times. Golden hour is often short in exotic settings.
- In tropical or desert climates, midday sun may be harsh. Plan for indoor or shaded breaks.
Adjusting for cultural or venue‑specific timing
In some cultures weddings start late at night or have rituals at unexpected hours. Let your photographer know. Some venues limit photography at certain times due to local rules or religious practices. Get clarity early.
When to take golden hour portraits
The hour just before sunset usually gives the most flattering light. Try to have portraits then, even if you need to pause the reception or shift timing. If your wedding is near the equator, golden hour could be brief. Plan accordingly.
What to include in a pre‑wedding day shoot or post‑wedding session
A pre‑wedding (engagement) shoot gives you time to warm up in front of the camera and helps you trust your photographer in that locale.
A post‑wedding session (day after or sunrise shoot) reduces pressure on your wedding day and lets you explore extra locations without time constraints.
Weather Contingency Planning for Photos
What to do if rain, wind, or heat strikes
- Have umbrellas or clear covers on hand
- Use diffusers or scrims to soften harsh light
- Schedule backup indoor spaces
- Adjust your timeline around weather windows
Backup indoor photo spots to plan for in advance: Ask your venue or local planner for indoor hallways, covered terraces, elegant corridors, or glass atriums. Scout them early.
Must‑Have Photos: Building Your Destination Wedding Shot List
Key moments every couple wants captured
- Getting ready (details, candid moments)
- First look or first sight
- Ceremony walk, vows, ring exchange, kiss
- Post‑ceremony portraits
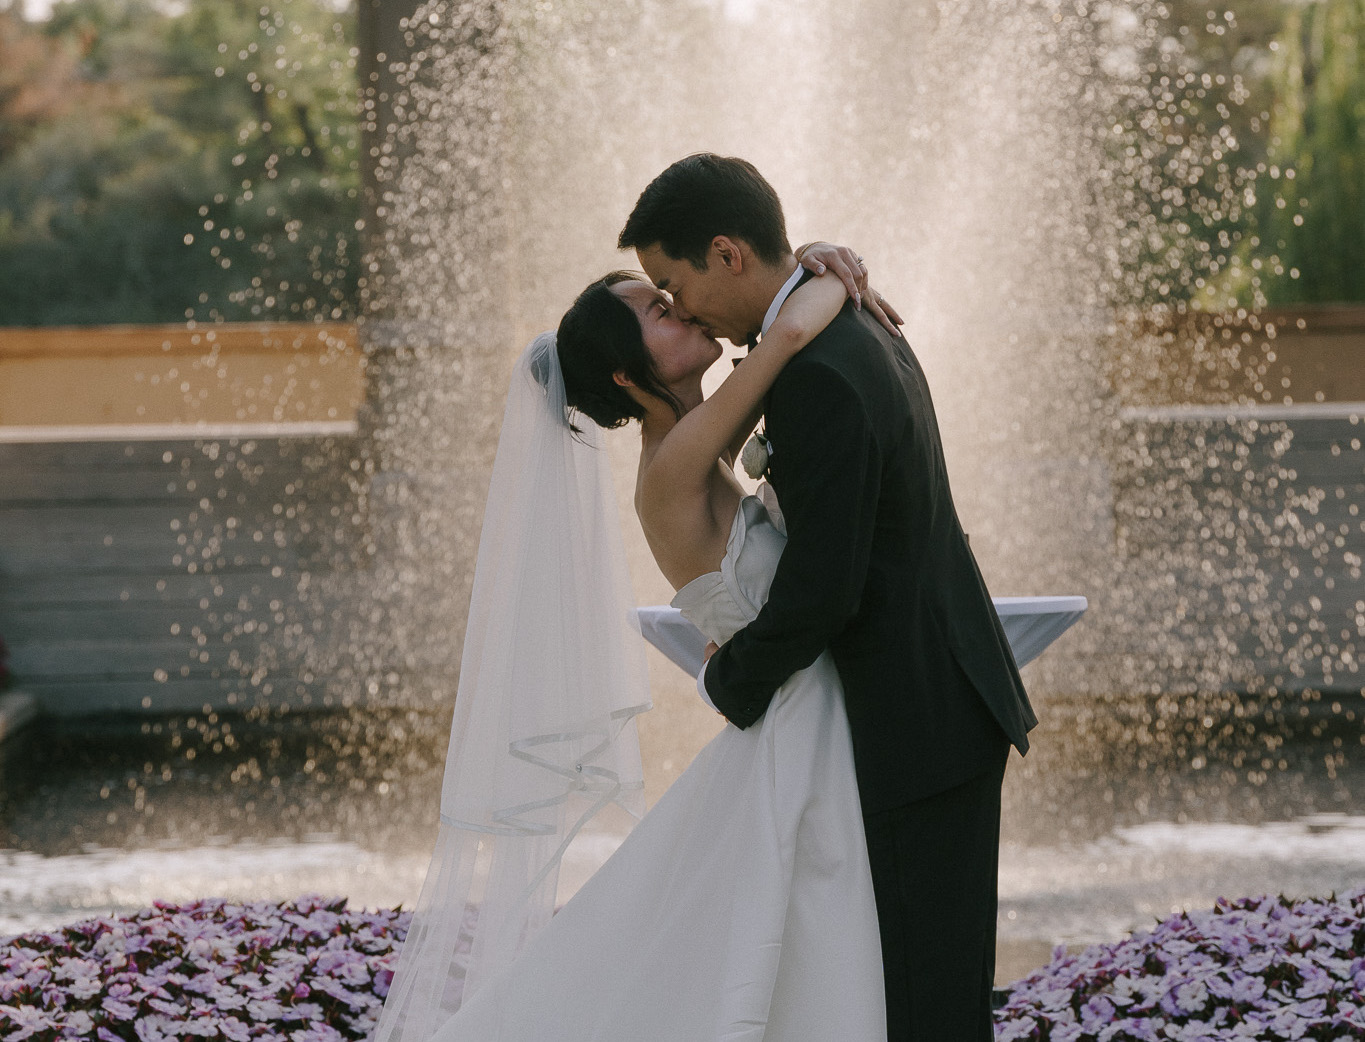
- Couple portraits (sunset, scenic)
- Family and bridal party groupings
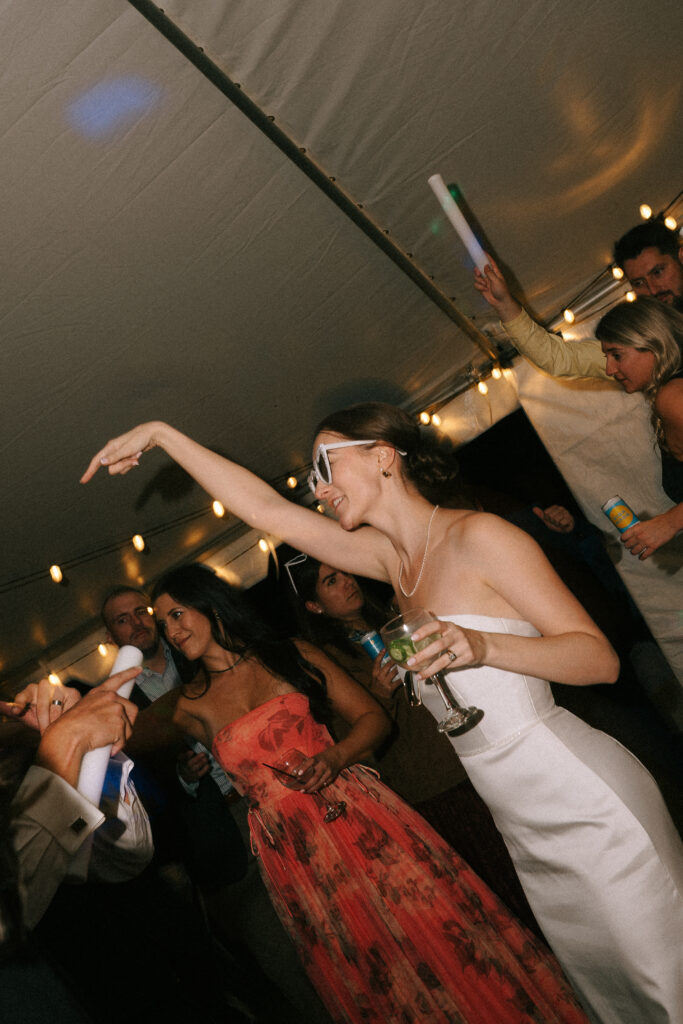
- Speeches, cake, first dance, dancing
- Candid guest moments, details, surroundings
Special location‑based shots
- Beach silhouettes, waves, cliffs, hillsides, architecture
- Drone or wide aerial shots if allowed
- Reflections, pathways, local landmarks
Candid vs. posed photos: striking a balance
Leave room for unguarded moments: the laughter, the tears, the unscripted glances. But mix in posed shots to get everyone in frame, especially family. Use your shot list to remind, but allow flexibility.
Group photos: logistics for guests traveling in
- Collect a list of combinations (families, friends, etc.) before the day
- Assign a “group photo coordinator” (usually a relative or wedding planner) to gather people
- Schedule group shots early. People may wander
- Use wide angles and extra time if terrain is tricky
How to incorporate local culture or traditions into your shots
Discuss with your photographer the traditions you plan to include (local dances, rituals, attire). Let them research and suggest how to frame these in beautiful, respectful ways. Add them to your shot list.
Destination Engagement Photos
Why and how to plan an engagement session at your destination
It’s a chance to test lighting, get comfortable working with your photographer in that locale, and collect more memory before your wedding day.
Outfit ideas and locations
Choose outfits that contrast with backgrounds (ex: a soft dress against rugged cliffs). Limit patterns. Bring an outfit change. Scout by Google Maps or Instagram to pick interesting spots near your wedding venue.
Location Scouting & Photo Inspiration
How your photographer can scout the venue in advance
They can visit before the wedding, shoot test sessions, note sun paths, find hidden corners, and talk to venue staff about restrictions.
Virtual tools to visualize shots
Use Google Earth, Google Street View, venue virtual tours, Instagram geotags, local wedding blogs. Share screenshots and mark exact spots you like.
Finding iconic and hidden photo locations nearby
Ask locals or planners for little alleys, forgotten gardens, seaside cliffs, terraces, rooftops. Sometimes the best shot is off the beaten path.
Inspiration sources
Collect photos from Instagram, Pinterest, real wedding blogs. But don’t chase perfection. Use them as starting points, not constraints.
Styling & Preparation Tips for Picture‑Perfect Moments
Outfits that work best in your destination’s climate and setting
Bring breathable fabrics in warm climates. For beach or windy locales, avoid heavy trains that catch the wind. Use slip layers under dresses if mosquitos or sun are factors.
Hair and makeup considerations for wind, humidity, or sun
Use long‑wear formulas. Request a matte finish if humidity is high. Bring spray bottles, setting powder, and a handheld mirror. Do trial runs outdoors.
Wedding dress travel tips to keep it photo‑ready
Pack the dress in a garment bag or box with acid‑free tissue. Resist folding along sharp creases. Steam or press locally. Pack a small steamer or wrinkle release spray.
What to pack for touch‑ups and quick changes
- Sewing kit, fashion tape
- Compact mirror, blotting sheets
- Extra lipstick, powder, hair pins
- Stain remover pen
- Clear umbrellas, lint brush
First Look & Emotional Moments
Deciding if a first look is right for you
A first look gives you space and intimacy before the ceremony. It can settle nerves and free time for portraits later. But if tradition and surprise are more meaningful to you, that’s valid.
Creative ideas to personalize this private moment
Have your fiancé blindfolded or reading a letter. Choose a meaningful location, such as overlooking cliffs, near water, in a garden. Ask your photographer to capture behind you, or your expressions from both sides.
After the Wedding: What to Expect with Editing and Delivery
Typical turnaround times for photo delivery
For destination weddings, many photographers take 8 to 12 weeks, sometimes more, depending on travel and editing load.
How editing styles vary and what to expect
Some edits lean warm, others lean moody or natural. Ask for sample galleries pre‑wedding. Know how much retouching is included (skin, stray hairs, color correction).
Requesting sneak peeks or teaser galleries
Many photographers share a teaser set (20–30 images) within a few days. It keeps excitement alive and gives you early images to post or share.
Options for prints, albums, and digital sharing
Decide whether you want heirloom albums, framed prints, or wall art. Ask for high‑res files for printing yourself. Some photographers offer print‑shop integration in their galleries.
Sharing Your Wedding Photos with Guests
Best platforms and tools to send galleries
Use password‑protected galleries (Pixieset, SmugMug, ShootProof). Share via email links or private social groups.
Creating shared albums or social media recaps
You might allow guests to download favorites. Ask them to tag the photographer when posting. Use a hashtag if you like.
How to credit your photographer when posting
Include “Photo by [Photographer’s Name]” or tag their social account. It’s a small gesture but meaningful for them.
Conclusion: Making the Most of Your Destination Wedding Photos
Your destination wedding photos are more than pictures. They are vessels for memory, love, joy, and the places that hold your promise. With thoughtful planning, open communication, and heart in your decisions, your gallery will feel like stepping back in time.
Take your time choosing someone you trust. Build a timeline that honors light, culture, and your pace. Embrace surprises. And let your heart guide those candid moments.
If you’d like, you can explore my destination wedding photography services and see how I work with couples like you to capture elegance, emotion, and story across the globe.
Leave a Reply
You must be logged in to post a comment.

